
I. What to Expect
🕘 Reading time = 1 hour
By the end of this guide, you’ll be able to understand what real time export is, how to set up a real time export module on Smile CDR and how to use it to export data to a remote RDBMS database.
II. Background
The purpose of the Realtime Export (RTE) module is to permit real-time extraction of FHIR data from Smile CDR into a remote database. RTE is used to hydrate an external SQL schema of your choice or a shadow SQL database. RTE updates the SQL DB in real-time to reflect any changes within the FHIR repository (any FHIR creates, updates, deletes). This is most often used by customers who have reporting, BI, research or similar tools (e.g. Tableau, PowerBI, SPSS, etc...) that work with SQL tables but don’t (yet) work with FHIR data.
III. Objective
The intention of this document is to provide a step-by-step procedure of how to set up and use Smile CDR’s Realtime Export module. You should be able to successfully complete the setup with little to no technical background on Realtime Export (RTE).
IV. Prerequisites
The following items/knowledge are required:
-
Having Smile CDR installed. If not, see the following document on installing and configuring Smile CDR. You’ll need to have done so prior to beginning this tutorial.
-
Homebrew for MacOS
-
Postgres Database setup
-
pgAdmin4 Installed
-
Insomnia/Postman installed
V. Installation Instructions for Windows
1. Download the latest PostgreSQL package from the link below:
https://www.enterprisedb.com/downloads/postgres-postgresql-downloads

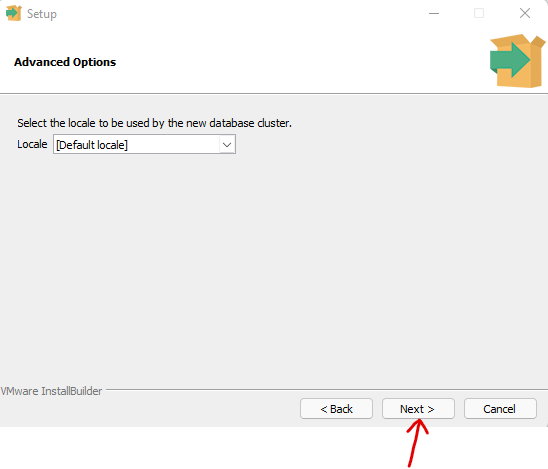
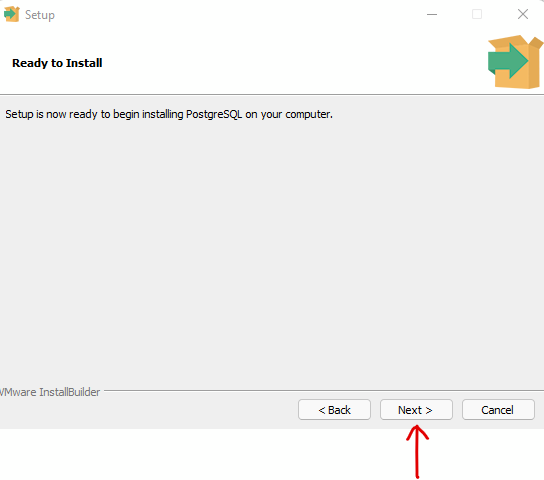
2. Double click the downloaded package and start following the steps as below for installation. Click Next for all prompt pages:


a. Create a password for the database super user (Postgres) in the next window and save this password for future use. For the purposes of this example the password is “password.” Click Next for all remaining prompt pages.


b. Uncheck the option to launch stackbuilder and click Finish in the next window to complete the installation process. This launches the pgadmin 4 application from the Start menu.

3. Launch the pgadmin 4 application from your computer’s Start menu.
4. Create a master password and save it as it’ll be used to open pgadmin 4.

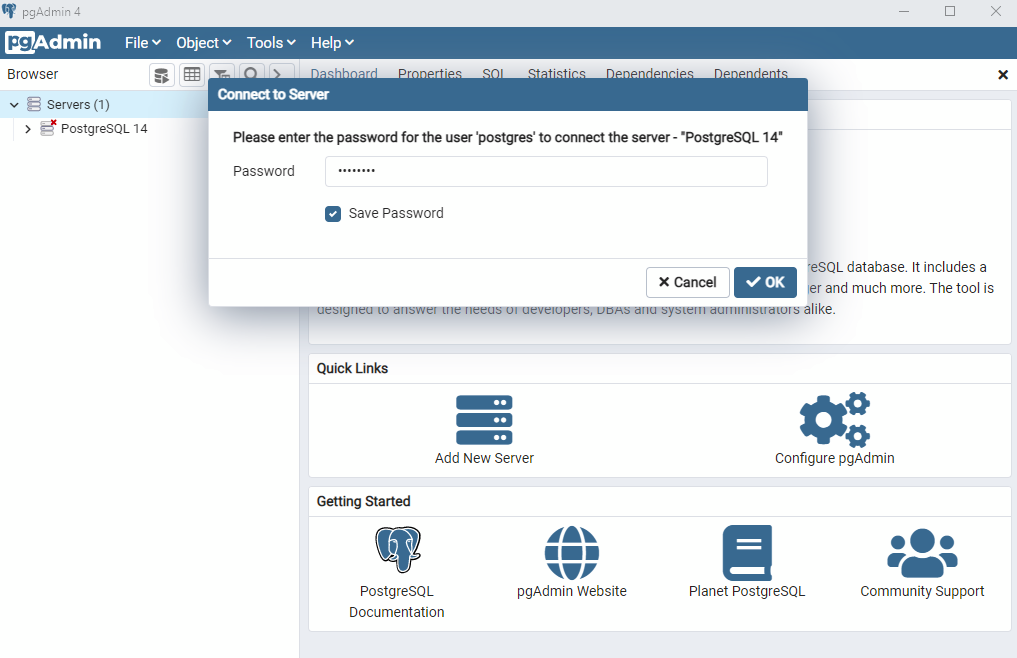
5. Click on the servers and enter the password you set up for Postgres during the installation process (“password” was suggested earlier in this setup process).
6. Next, create a new user that will have the privileges to create and manage databases within the service.
a. Under “Servers,” click on PostgreSQL 14>Database>Right click on Postgres, then the Query Tool.

b. The following two SQL queries will create a role “newuser” and assign privileges to manage the DB. To run these commands, copy and paste them into the Query Editor, then click on the play button.
CREATE ROLE "newuser" WITH LOGIN PASSWORD 'password';
ALTER ROLE newUser CREATEDB;

7. Create a Server by right clicking on Servers(1)>Create>Server on the left side panel.

8. Name the server. In the example below, “Test” was used.

9. Select the Connections tab, fill in all the details as follows. Please make sure the username and password you enter below are the same user and password which you created during the Postgres database setup. In this case, username will be “newuser” and password will be “password.” Click Save.

10. Create the required database table with required columns where the data will be exported to and stored. To do so:
a. Under “Servers,” click on Test>Databases>right click on postgres>Query Tool

b. Copy, paste and run the below SQL query on the query tool. Click play on the top corner to create a table named “remote_patient_name.”
CREATE TABLE remote_patient_name ( id varchar (255),
given_names varchar (255),
family_names varchar (255), version int,
parent_reference varchar (255), subject varchar (255), source_resource_id varchar(255), PRIMARY KEY (id));
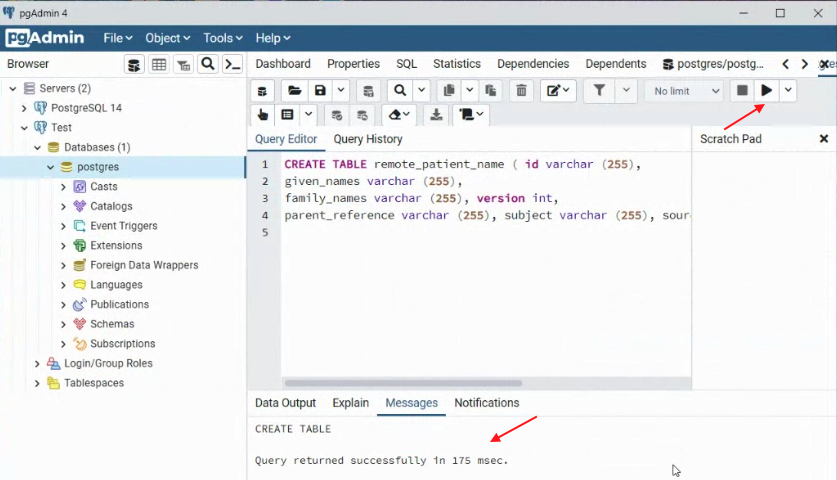
c. Once the above SQL query is executed successfully, you should see the “remote_patient_name” table created below in your side panel. You can access a list of your tables in the “Schemas” subheading on pgAdmin.

You have now successfully downloaded pgAdmin and set up a database with specific user privileges. You may now continue to the section of this guide titled Real Time Export(RTE) Module Configuration on Smile CDR Web Admin Console.
VI. Installation Instructions for MacOS
i. Installing/Updating Homebrew on MacOS
1. Homebrew is a command line package manager which will be used to install Postgres.
a. To confirm that homebrew installed on your machine open up your command line terminal and run the following:
brew

As shown in the figure above, Homebrew is already installed. It returns a list of the services that are available to be used from Homebrew.
If the command terminal does not return this information, continue to Part B. If your command terminal does return this information, continue to Step 2.
b. Run the following command on your terminal to install Homebrew.
/bin/bash -c “$(curl -fsSL https://raw.githubusercontent.com/Homebrew/install/HEAD/install.sh)”
Note: after you’ve entered the above command, followed by your computer password, you may be prompted to press enter again to continue the installation.
This will connect to the GitHub repository for Homebrew and get it installed on your machine. Once it’s installed, try running the command from the previous step again to initiate Homebrew.
2. Once Homebrew is installed and initiated on your machine, the next step is to update it. This is a good practice to follow as it updates your Homebrew before performing any operations with it. To do this, type the following command:
brew update

ii. Installing Postgres Database using Homebrew
1. Now that Homebrew is up and running, the next step is to install the Postgres database using Homebrew. To do this, type the following command on your terminal:
brew install postgresql
Please note, the download and installation does take time to complete.
2. Now that the Postgres database is installed on our machine, we need to start the Postgres service. To do this, type the following command on your terminal:
brew hs

3. Once the Postgres server is up and running, we need to log into the Postgres service. To do this, type the following command:
psql postgres

4. Next up, we’ll create a new user that will have the privileges to create and manage databases within the service. To do this, type the following command in the terminal:
CREATE ROLE newUser WITH LOGIN PASSWORD ‘password’;
ALTER ROLE newUser CREATEDB;

5. To confirm if the new user is created, type the following command in your terminal to list all users and their assigned roles:
\du

iii. PGAdmin4 Installation & Configuration
1. Open this link: https://www.pgadmin.org/download/pgadmin-4-macos/
2. Download the latest version of PGAdmin 4 from the above link and install it on your MacOS machine.

Make sure to select the .dmg file shown in the following page:

3. Upon the pgAdmin 4 installation, launch the application and create a server by right clicking on Servers>Create>Server on the left side panel.
4. Name the server. In this example, the name “Test” was given as demonstrated below:
5. Select the Connections tab, fill in all the details as follows. Ensure that the username and password you enter are the same ones you created during the Postgres database setup. In this case, username will be “newuser” and password will be “password.” Click Save.
6. Under “Servers,” click on Test>Database>Right click on Postgres. Then click on the Query Tool.

7. Run the below SQL query on the query tool and click the play button on the top to create a table named “remote_patient_name.”
CREATE TABLE remote_patient_name ( id varchar (255),
given_names varchar (255),
family_names varchar (255), version int,
parent_reference varchar (255), subject varchar (255), source_resource_id varchar(255), PRIMARY KEY (id));

8. Once the above SQL query is executed successfully, you should see the “remote_patient_name” table created below:

You have now successfully downloaded pgAdmin and set up a database with specific user privileges. You may now continue to the section of this guide titled Real Time Export(RTE) Module Configuration on Smile CDR Web Admin Console.
VII. Realtime Export(RTE) Module Configuration on Smile CDR Web Admin Console
1. Click the following link to open the Smile CDR web admin console:
a. Click the green “Sign In” button and fill out the prompt page with the following information:
i. Username: <<use the one supplied to you by Smile>>
ii. Password: <<use the one supplied to you by Smile>>
b. On the home page, click on the Add Module of Type drop down menu, then select Realtime Export and finally click on the green add button.

2. The next step is to configure the Realtime Export module. To do this, please set the configurations to the specifications below:
|
Configuration |
Sample Value |
Description |
|
Realtime Export Script |
{ "retainAllHistory": false, "concatenationDelimiter": " - ", "overflowStrategy": "TRUNCATE", "namedTransformers": {}, "transformers": [ { "resourceType": "Patient", "tableName": "remote_patient_name", "columns": [ { "columnName": "given_names", "fhirPath": "Patient.name.given", "columnType": "STRING" }, { "columnName": "family_names", "fhirPath": "Patient.name.family", "columnType": "STRING" } ] } ] } |
If set defines a set of rules to transform resources into exported rows in an external database. |
|
Retry Channel Name |
retry |
The name of Kafka topic or ActiveMQ queue where inbound resources are sent when a failure occurs during processing of an incoming resource. Non-null value required for retry to be enabled. |
|
Retry Delay(ms) |
1000 |
The minimum amount of time to wait (milliseconds) between retry attempts. |
|
Failure Channel Name |
failed |
The name of Kafka topic or ActiveMQ queue where resources are sent after they have exceeded the maximum number of retry attempts, and have still not been successfully processed. |
|
Maximum Delay(ms) between attempts. |
1000 |
The maximum amount of time to wait (milliseconds) between retry attempts. This provides an upper limit for exponential backoff. |
|
Maximum amount of retry attempts. |
1 |
The maximum amount of times to attempt import before considering a message failed. Non-zero value required for retry to be enabled. If set to zero, failed messages will skip the retry channel completely and go directly to the failure channel. |
|
Database Type |
POSTGRES_9_4 |
The database platform being used. |
|
Database Connection URL |
jdbc:postgresql://localhost:5432/postgres |
FOR MAC ONLY: JDBC Connection URL for the database. |
|
Database Connection URL |
jdbc:postgresql://host.docker.internal:5432/postgres |
FOR WINDOWS ONLY: JDBC Connection URL for the database for |
|
Database Username |
newuser |
Username for the database. Note: use the username that you have created while setting up Postgres; “newuser” in this case. |
|
Database Password |
password |
Password for the database. Note: use the password that you have created while setting up a user in Postgres; “password” in this case. |
|
FHIR Storage Module (any FHIR version) |
persistence [FHIR Storage (R4 Relational)] |
The FHIR storage module to associate with this module. |
3. At the top of the page click Save, then click Start to start the module:

4. In the persistence module, you need to enable the Pointcut-based Realtime Export Mode Enabled field by selecting Yes. Once done, at the top of the page click Save, then click Restart to restart the module:

VIII. Testing Realtime Export Module
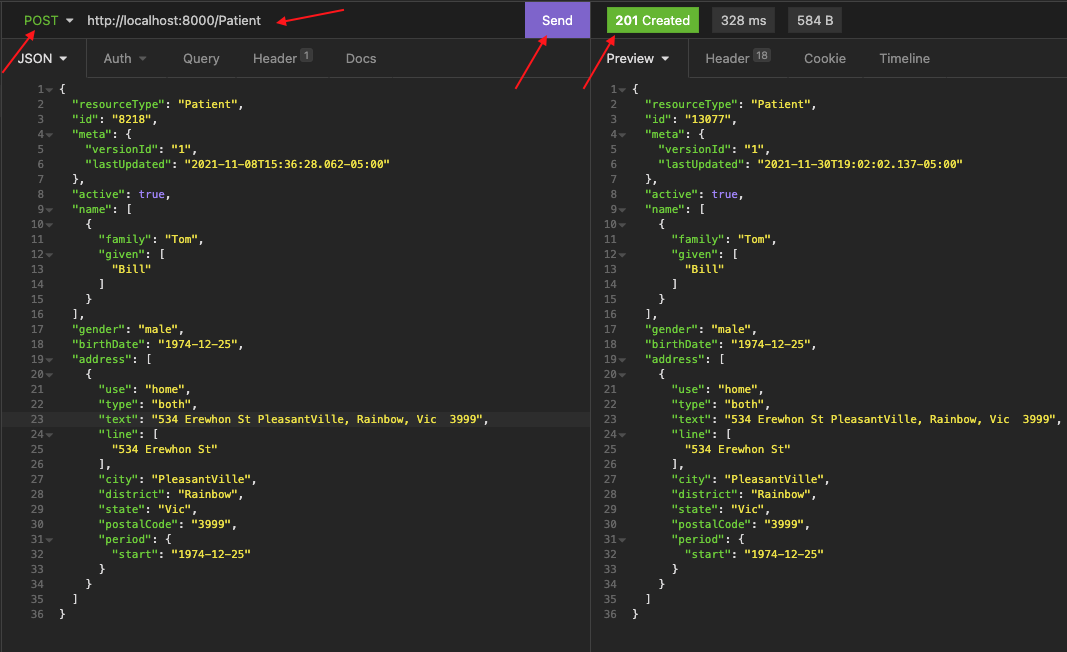
1. Open your Rest Client Insomnia/Postman and select basic auth. Include your Smile CDR login credentials.

2. Post the below patient resource. You should see a 201 Created in the response: http://localhost:8000/Patient
{
"resourceType": "Patient",
"id": "8218",
"meta": {
"versionId": "1",
"lastUpdated": "2021-11-08T15:36:28.062-05:00"
},
"active": true,
"name": [
{
"family": "Tom",
"given": [
"Bill"
]
}
],
"gender": "male",
"birthDate": "1974-12-25",
"address": [
{
"use": "home",
"type": "both",
"text": "534 Erewhon St PleasantVille, Rainbow, Vic 3999",
"line": [
"534 Erewhon St"
],
"city": "PleasantVille",
"district": "Rainbow",
"state": "Vic",
"postalCode": "3999",
"period": {
"start": "1974-12-25"
}
}
]
}
3. Let’s validate in pgAdmin 4 to see if we have the patient resource that we just posted from Insomnia in the remote database (TestDB) we created earlier.
a. Right click on the TestDB database and click on the Query Tool.

b. Run the below SQL query to see if you have received the payload you pasted on Insomnia/Postman.

4. Now that we see the payload getting exported to the remote database (see figure above) , this confirms that the Real time Export module is working successfully.
IX. Glossary
Definitions:
PostgreSQL Database: a powerful, open-source object-relational database system that uses and extends the SQL language combined with many features that safely store and scale the most complicated data workloads. Postgres has been a stable and reliable database product and has been continuously under development for the past two decades. A number of enterprise-scale applications, whether web or mobile, use Postgres Database as a backend relational database management system.
PGAdmin: one of the most popular web-based interactive clients available for Postgres to manage the database server. You can use it for almost any sort of activities you want to perform with Postgres.
Homebrew: “The missing package manager for macOS,” it’s a free and open-source package manager that allows installing apps and software in macOS, depending on the user’s desire. It has been recommended for its simplicity and effectiveness in saving time and effort.
X. Reference Links:
1. Smile CDR & Docker Installation Guide
2. Setting up a PostgreSQL Database on Mac
3. PostgreSQL Database Installation for Windows